
It’s hard to talk about the X100V and other Fujifilm cameras, and not talk about film.

Over the years in the 90’s and early 2000’s, I shot with various negative films from Kodak and Fujifilm, not really with any intention besides picking the ISO rating and color vs. B&W. I paid a local lab to develop it, and occasionally would get pictures blown up to hang on a wall.
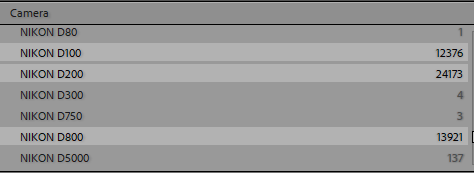
While I love the images I took over the years, I don’t miss film one bit. On one trip, I used about 36 rolls of film. It probably cost over $400 to buy and process… almost $2 per click. My lightroom catalog has over 24000 images from my D200 ($1699 when released). That’s about .14 cents per image, not including the ones i deleted. Scanning film is a slow annoying process, and while I enjoy bringing my old photos alive digitally, I will never buy another roll of film.
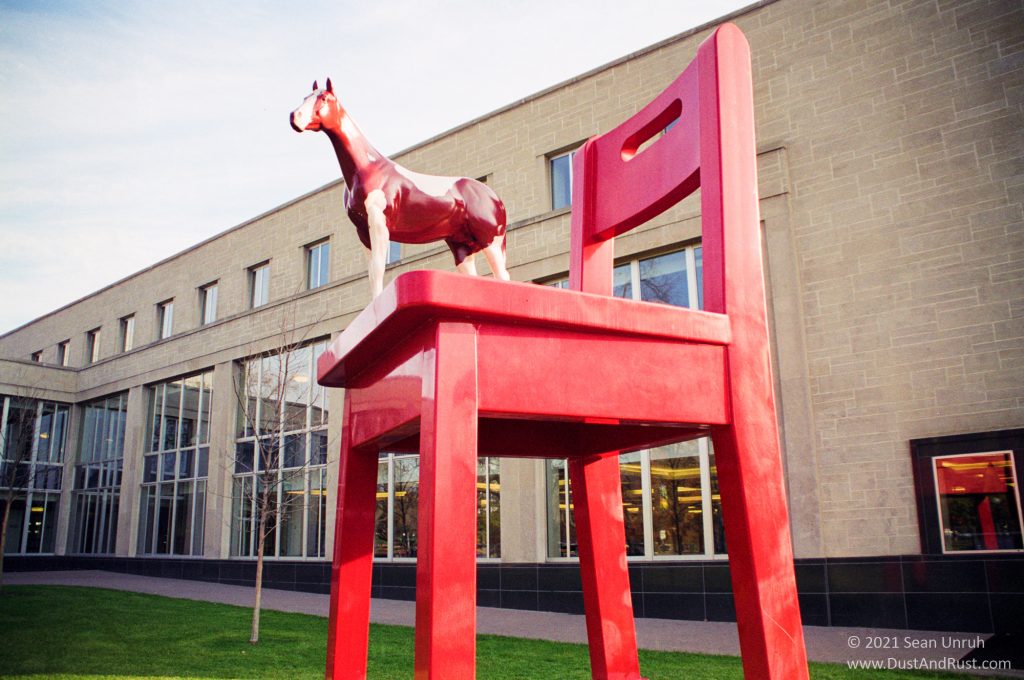
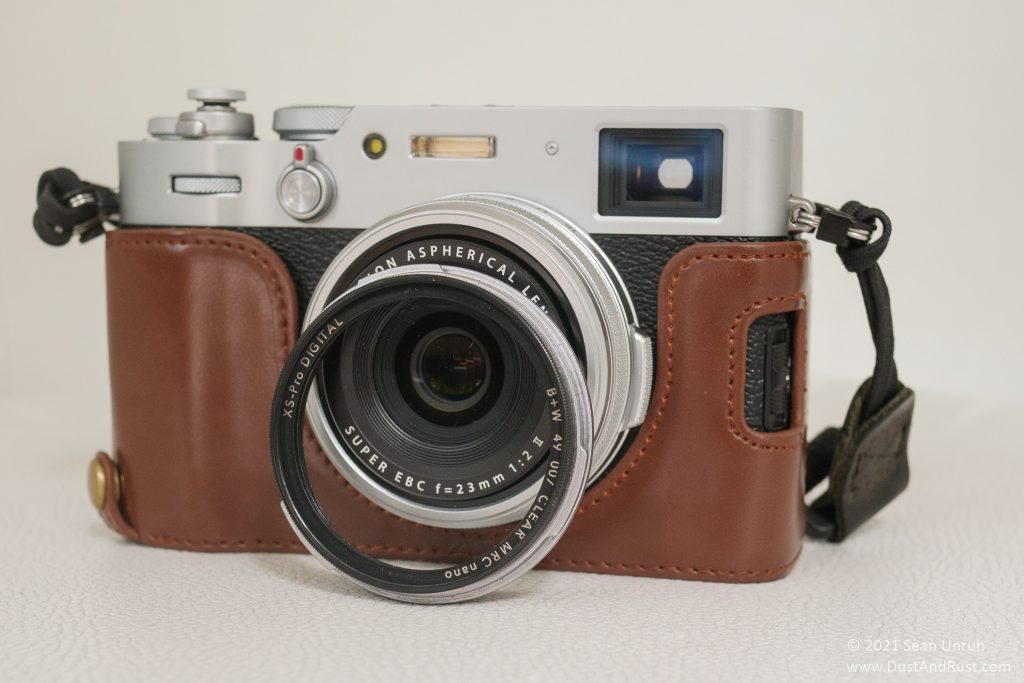
So that brings me to the X100V. It is a camera that oozes a retro vibe. It looks and feels like it could have been made in the 1970’s if you ignore the LCD on the back… you might think there is a roll of film inside of it. I would go as far to say that it is a camera with a soul. As I type this, it is sitting in front of me, begging me to pick it up, hold it, and shoot with it.
I will be honest, I don’t usually read the manuals when I buy a camera. But with Fujifilm, you find yourself looking at menu options like “Dynamic Range – DR100/DR200/DR400/DR Auto”. How does that affect raw photos, and what does it do? The manual is not very clear, so off to youtube.
There is a confusing interaction (in my opinion) between the top dials, and the front and rear dials that took me a while to figure out. The way I shoot, I basically set the ISO and Shutter to (A)uto, and I use the exposure compensation and aperture ring manually. If you want to use the front and real dials set the top dials/aperture ring to (C)ornfused, and then you can use the menus to set up the front and rear dials for those functions… off to youtube!
Next, we have the (Q)uick menu. Take the time to set that up with the commands you want to use often… Help me Youtuuuube!!!
Finally, there is the viewfinder. You can configure the display in both optical and evf mode. Hitting the “Disp Back” will declutter the displays with a single click. When you use the finder in optical mode, AF functionality changes… eye af does not work (i think?). Hmmmm… maybe Youtube can simplify things.
Ok… now you can start taking some pictures. Do you want Classic Chrome with large film grain, and extra strong or weak chrome effect? Or Acros with a yellow or blue filter effect? Lets see what JayRegular on Youtube has to say.
Ok… now I can take a photo….


Most X100V people on the internet will tell you “I now only shoot jpegs with the X100V”. I am going to go against the grain. I only shoot raw, and I use the Lightroom camera profiles for these images. There are some differences to the in-camera profiles, but not enough for me to care.
If you like this website, and are thinking about buying this camera from Amazon… click here : Fujifilm X100V Digital Camera – Black and support the site!
– Sean
Great help for me a beginner.